Peanut Butter Chocolate Heart Cups
Highlighted under: Baking & Desserts
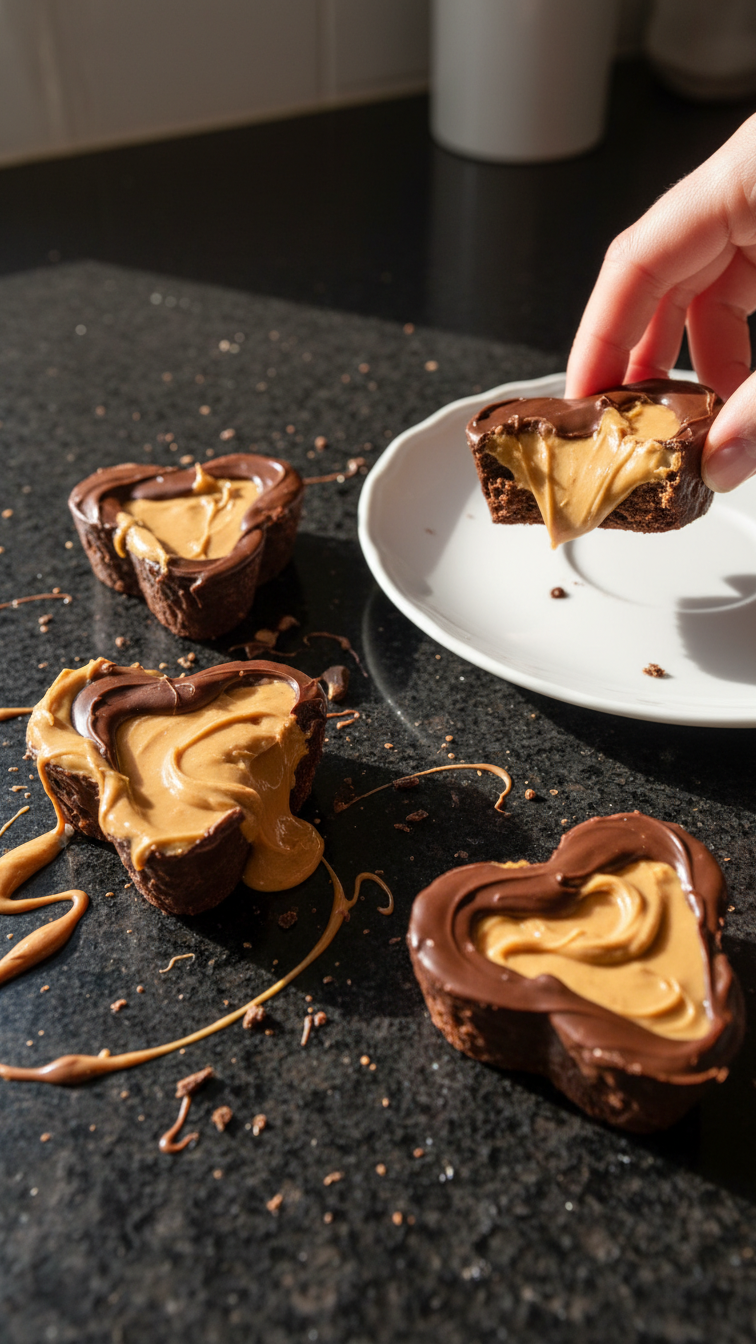
I absolutely adore making Peanut Butter Chocolate Heart Cups, especially when I want to impress my loved ones or treat myself to something special. The combination of creamy peanut butter and rich chocolate is simply irresistible. Each bite offers a delightful balance of flavors and textures that brings a smile to my face. These treats are not only fun to make but also allow for creativity in the kitchen. Plus, they make great gifts for any occasion, wrapped up beautifully.
When I first tried making these heart cups, I didn’t realize just how simple they would be. After a couple of rounds, I adjusted the ratios of peanut butter to chocolate, and I finally got that perfect creaminess I was looking for. It’s fantastic how easily the ingredients meld together, creating a decadent treat that feels like a labor of love but is actually quick to whip up.
One specific tip that I found extremely useful is to invest in silicone molds. They not only make it easier to pop the cups out, but they also give that delightful heart shape that makes these treats even more special. Plus, the silicone allows for uniform cooling, which is key to achieving that perfect texture!
Why You'll Love This Recipe
- Decadent pairing of peanut butter and chocolate
- Fun and easy to make with loved ones
- Perfectly shaped for special occasions
Mastering the Peanut Butter Filling
When creating the peanut butter filling, the temperature of your ingredients plays an essential role. Ensure that your unsalted butter is softened at room temperature, which allows for easy incorporation with the peanut butter and powdered sugar. The mixing should create a smooth and creamy texture; if it appears too thick, consider adding a teaspoon of milk to loosen it without compromising flavor.
It's crucial to let the filling chill for about 15 minutes before assembling the cups. This refrigeration not only helps firm up the mixture but also makes it easier to scoop and mold. If you find it challenging to scoop the filling later on, a small ice cream scoop can be particularly handy in forming perfectly shaped portions.
A Perfect Chocolate Coating
Melting chocolate can sometimes be tricky; using a microwave in intervals helps avoid overheating, which can cause the chocolate to seize. Stirring the mixture between each interval is key; look for a glossy finish as a sign of it being done. If your chocolate does seize, try adding a teaspoon of coconut oil to rescue it and restore a smooth consistency.
For the chocolate coating, using dark chocolate chips gives a nice contrast to the sweetness of the peanut butter. If you prefer a sweeter treat, feel free to substitute half of the dark chocolate chips with milk chocolate chips. This balance will create a delightful contrast without overwhelming the palate with sweetness.
Storing and Serving Your Heart Cups
Once your Peanut Butter Chocolate Heart Cups are set, storing them properly ensures they maintain their delightful texture. Keep them in an airtight container in the refrigerator for up to two weeks. For longer storage, you can freeze them in a single layer on a baking sheet, then transfer them into a freezer-safe container. They should last up to three months when properly stored.
When serving these treats, consider a few presentation ideas. Placing them in decorative cupcake liners adds a charming touch, especially for gifts. You could also drizzle some additional melted chocolate over the tops for a professional finish or sprinkle them with a pinch of sea salt before the chocolate sets to enhance the flavors.
Ingredients
Ingredients
For the Peanut Butter Filling
- 1 cup creamy peanut butter
- 1/2 cup powdered sugar
- 1/4 cup unsalted butter, softened
- 1 teaspoon vanilla extract
For the Chocolate Coating
- 1 1/2 cups dark chocolate chips
- 1 tablespoon coconut oil
Instructions
Instructions
Prepare the Filling
In a medium bowl, combine the peanut butter, powdered sugar, softened butter, and vanilla extract. Mix until smooth and creamy. Refrigerate for 15 minutes to firm up.
Melt the Chocolate
In a microwave-safe bowl, combine the dark chocolate chips and coconut oil. Heat in the microwave in 30-second intervals, stirring between each, until completely melted and smooth.
Assemble the Cups
Pour a small amount of melted chocolate into the bottom of each silicone mold, ensuring the bottom is coated. Add a spoonful of the peanut butter mixture on top of the chocolate, then cover with more melted chocolate until the molds are full.
Chill and Serve
Place the molds in the refrigerator for about 30 minutes, or until the chocolate has fully set. Once hardened, pop the chocolates out of the molds and store them in an airtight container.
Pro Tips
- For a twist, try adding a sprinkle of sea salt on top before chilling for a sweet and salty flavor combination.
Ingredient Substitutions
If you're looking for a healthier alternative to peanut butter, almond butter or cashew butter can work beautifully in this recipe and provide a unique flavor profile. Keep in mind that these nut butters may have different consistencies, so adjust the powdered sugar to reach the desired texture.
For those with dairy sensitivities or preferences, substitute the unsalted butter with coconut oil or a plant-based butter alternative. This will maintain the creamy texture of the filling while ensuring it's dairy-free. Additionally, you can use dairy-free chocolate chips to create an entirely vegan version of this treat.
Troubleshooting Common Issues
One common issue you might encounter is chocolate that refuses to set properly. This could be due to not using enough coconut oil or overheating the chocolate. To remedy this, ensure your melting process is gentle and steer clear of high heat. If your chocolate remains too thick, gently reheat it with a splash more oil until it reaches a pourable consistency.
If your peanut butter filling spreads too much within the chocolate coating, it might not have been chilled long enough. Ensure the filling is sufficiently firm before layering it with chocolate, or increase the chilling time to at least 30 minutes before assembly to help it retain its shape.
Questions About Recipes
→ Can I use almond butter instead of peanut butter?
Yes, almond butter can be used as a substitute for peanut butter. Just keep in mind that it may slightly change the flavor.
→ What type of chocolate works best?
Dark chocolate is recommended for a rich flavor, but you can also use milk chocolate or even white chocolate if you prefer.
→ How should I store the Peanut Butter Chocolate Heart Cups?
Store them in an airtight container in the refrigerator for up to two weeks, or freeze them for longer storage.
→ Can I add toppings to the cups?
Absolutely! You can add crushed nuts, sprinkles, or even drizzles of contrasting chocolate on top for added decoration and flavor.
Peanut Butter Chocolate Heart Cups
Created by: The Dishdune Team
Recipe Type: Baking & Desserts
Skill Level: Easy
Final Quantity: 12 cups
What You'll Need
For the Peanut Butter Filling
- 1 cup creamy peanut butter
- 1/2 cup powdered sugar
- 1/4 cup unsalted butter, softened
- 1 teaspoon vanilla extract
For the Chocolate Coating
- 1 1/2 cups dark chocolate chips
- 1 tablespoon coconut oil
How-To Steps
In a medium bowl, combine the peanut butter, powdered sugar, softened butter, and vanilla extract. Mix until smooth and creamy. Refrigerate for 15 minutes to firm up.
In a microwave-safe bowl, combine the dark chocolate chips and coconut oil. Heat in the microwave in 30-second intervals, stirring between each, until completely melted and smooth.
Pour a small amount of melted chocolate into the bottom of each silicone mold, ensuring the bottom is coated. Add a spoonful of the peanut butter mixture on top of the chocolate, then cover with more melted chocolate until the molds are full.
Place the molds in the refrigerator for about 30 minutes, or until the chocolate has fully set. Once hardened, pop the chocolates out of the molds and store them in an airtight container.
Extra Tips
- For a twist, try adding a sprinkle of sea salt on top before chilling for a sweet and salty flavor combination.
Nutritional Breakdown (Per Serving)
- Calories: 220 kcal
- Total Fat: 15g
- Saturated Fat: 7g
- Cholesterol: 15mg
- Sodium: 110mg
- Total Carbohydrates: 19g
- Dietary Fiber: 2g
- Sugars: 14g
- Protein: 4g